To change the order in which a station's spots are reported, use Buy Sequencer to change buy item numbers.
This option can be used to print a report for a buy snapshot created using the Create Snapshot feature.
This option also allows you to exclude ratings from the report in order to remain in compliance with the Nielsen/Nielsen Audio contractual agreements.
If your agency is set up for faxing and/or subscribes to Order Valet or ePort, you may fax or e-mail the report automatically to the station or rep. The report includes changes since the last time it was requested.
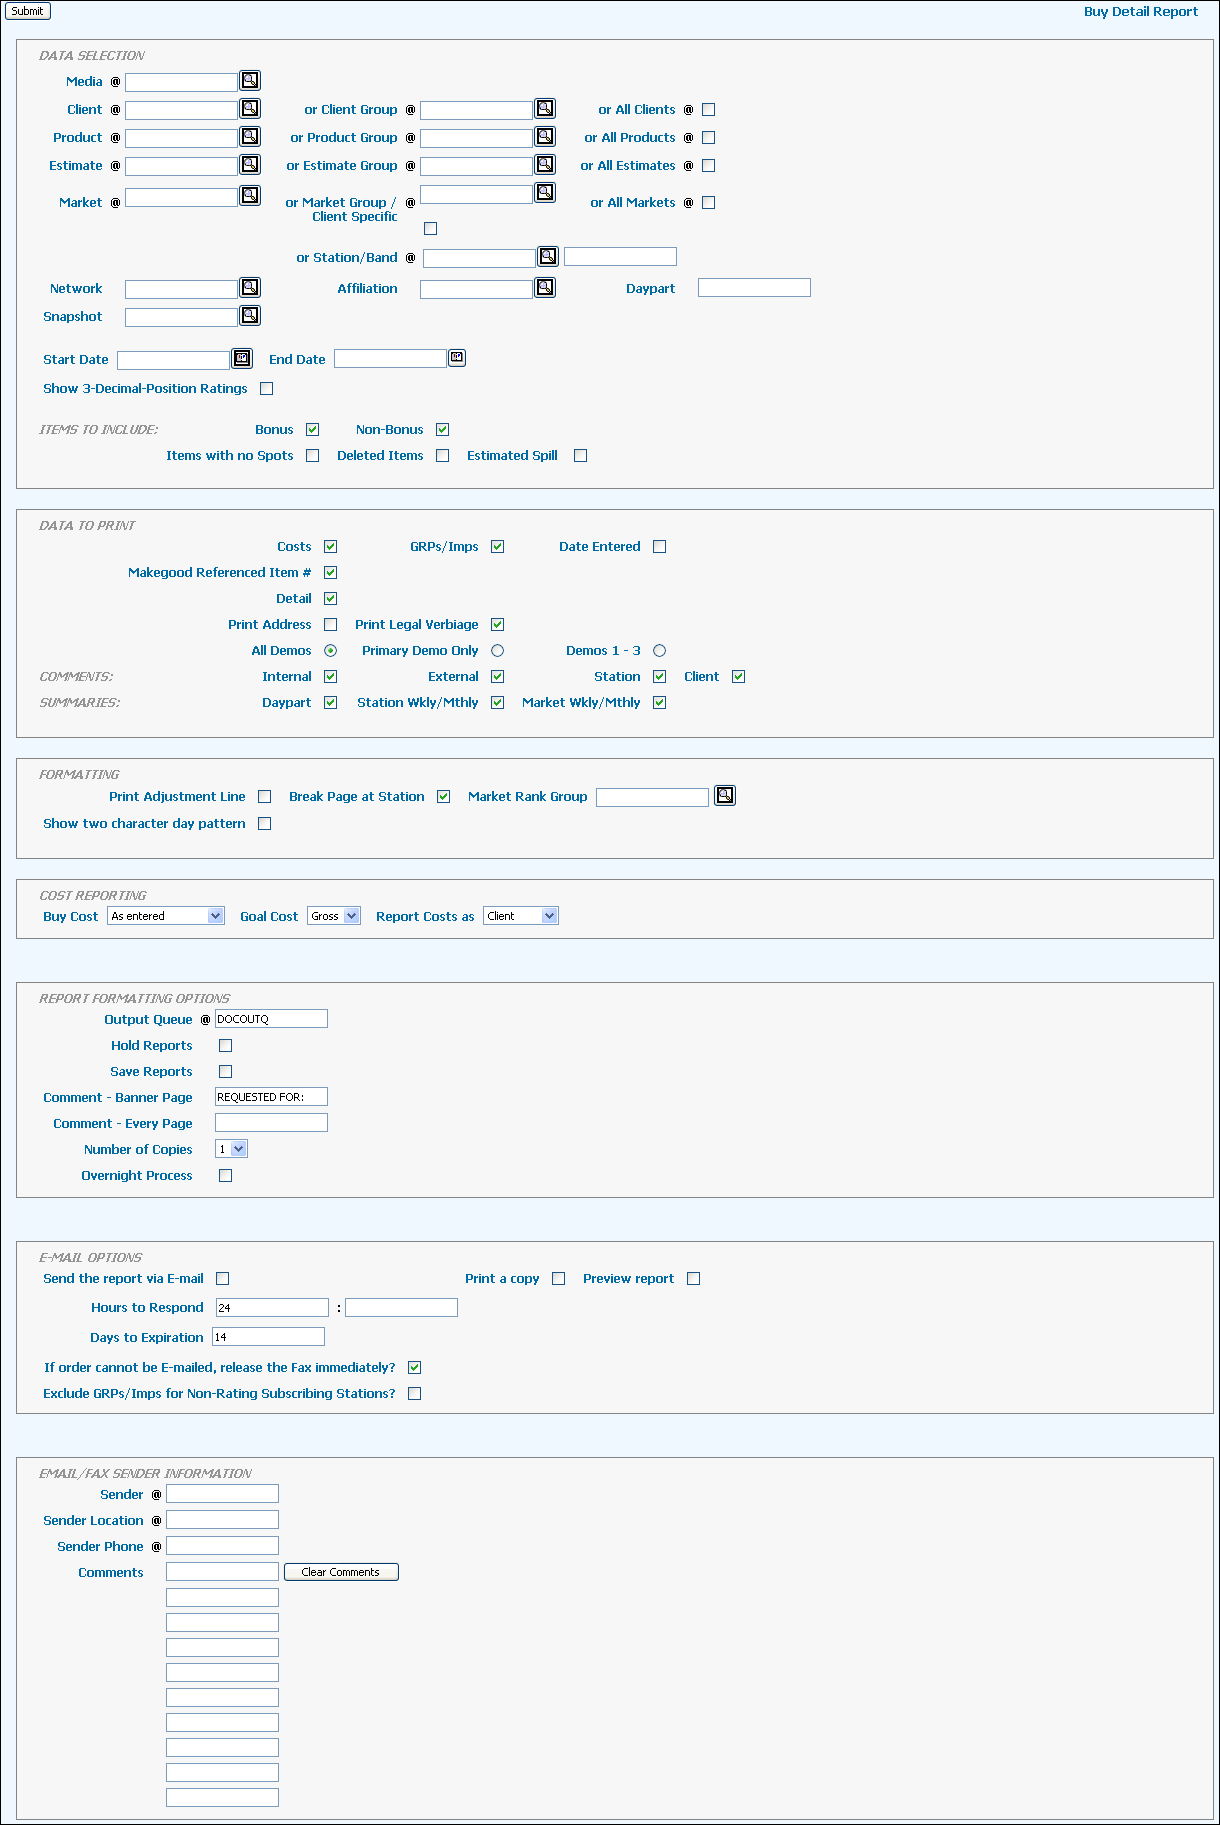
To create this report, select Media Reports | Buy Detail Report.
Key a Snapshot code and
skip to step 10.
OR
Key a Media code.
Key a Client, Client Group, or select the All Clients check box.
Key a Product, Product Group, or select the All Products check box.
Key an Estimate, Estimate Group, or select the All Estimates check box.
Key a Market, Market Group, or select the All Markets check box. Alternatively, you can key in a Station/Band combination.
To limit the report, key a valid Network and/or Affiliation code. Leave these fields blank if a station was keyed.
To limit the report to buy lines for a specific daypart, key that Daypart code.
If you did not key a specific estimate, use the Start Date and End Date fields to key a date range for the data to include.
By default, the report shows ratings to one decimal place. To display ratings with three decimal places, select the Show 3-Decimal-Position Ratings check box. Note: For our streaming audio buy users (Band S), amounts on reports that are emailed will always show 2-decimal places regardless of the setting in the “Show 3-Decimal-Position Ratings” checkbox. If the report is not emailed, decimals will show as indicated by the selection in the “Show 3-Decimal-Position Ratings” checkbox.
Use the controls in the Items to Include section to add more information to the report.
Use the controls in the Data to Print section to specify the data that you want to add to the report.
Use the controls in the Formatting section to specify how you want the report formatted. To differentiate between days of the week that are identified on the report with a T (Tuesday and Thursday) and S (Saturday and Sunday), click in the “Show Two Character Day Pattern” checkbox to identify the days of the week with a two-character code (Example: Thursday=TH). Afterwards, you will be able to clearly tell the difference between Tuesday/Thursday and Saturday/Sunday.
If the Costs check box is selected under the Data to Print section, you can use the controls in the Cost Reporting section to further define the cost reporting.
Choose your preferred Report Formatting Options.
Choose your Email Options.
If your agency subscribes to Order Valet or ePort, continue with the steps in the Using Order Valet and ePort topic.
Click the <Submit> button.
Click the Reports icon in the MediaBank A|V toolbar to display the View Spool File window where you can access your report.
Agency defined legal verbiage may be set to print on the bottom of each page of this report every time it prints. The text area is 4 lines of 145 characters per line. Use Buy Detail Legal Verbiage to define the text.
Defining Email Address/FAX Number