The reversal Bill Date is the current date unless that is the same as the original bill date; In that case the reversal Bill Date is the next day. The reversal Bill Number is the same as the original bill number. See Billing Address for an explanation of how the address is retrieved for a bill.
To reverse one or more bills:
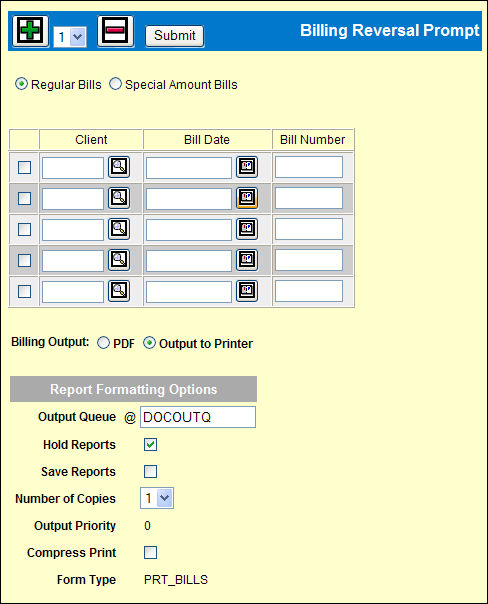
Select Billing | Billing Reversal.
Select Regular or Special Amount Bills by clicking the corresponding radio button.
For each bill to be reversed, key the Client, Bill Date (MMDDYY) and Bill Number (without hyphens) of the original bill.
Use the Add icon ![]() to add more rows, if needed. To quickly remove a bill from the request,
click the check box for that row and click the Remove icon
to add more rows, if needed. To quickly remove a bill from the request,
click the check box for that row and click the Remove icon ![]() .
.
Billing Output: PDF billing is the default. Click Output to Printer to use this method. The next time you request a Special Amount Bill, your choice of billing here, will display (persist) from this choice. Click to change output preferences.
If billing to printer output, change the Report Formatting Options, if necessary.
Click <Submit> to submit the reversal request.
The Client Invoice Register is placed on hold. Refer to Work with Spool Files instructions on releasing held reports.