General Ledger Ad Hoc Inquiries Filters Tab
The Filters Tab allows you to select, from a predefined list of data items, only those items you want to see on your report. If none are selected, then information is collected for all data items.
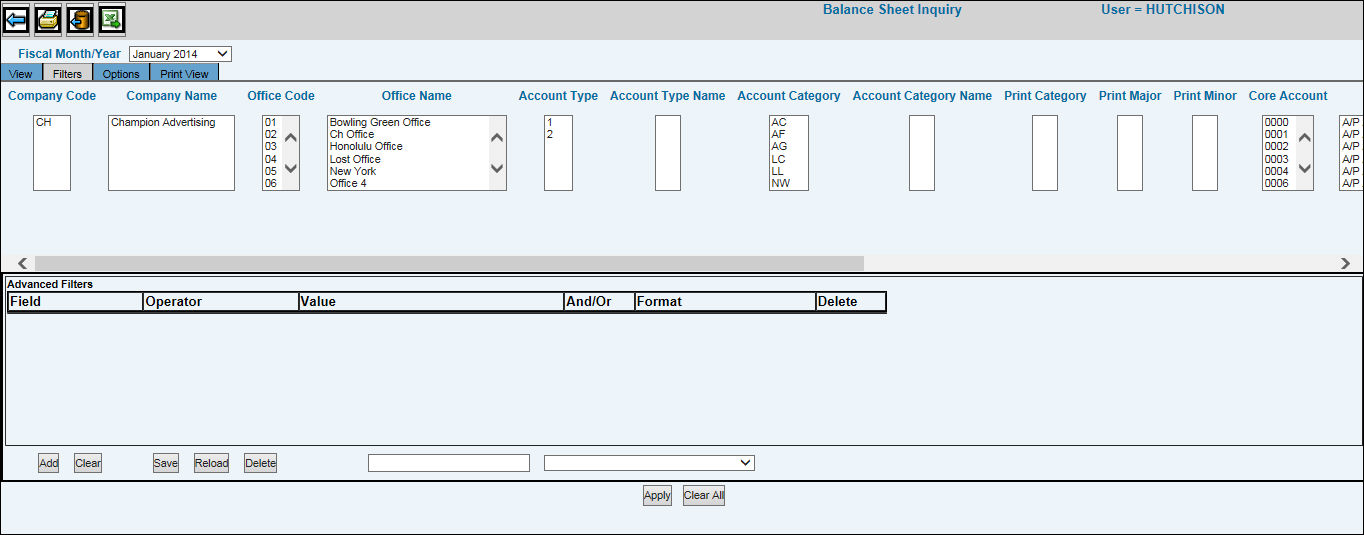
If you want to view data for a different fiscal month, you may select that date from the Fiscal/Month/Year drop-down list without having to return to the Prompt.
Each box is labeled and contains data that was collected according to selections made on the Prompt Window and for all the offices to which you are authorized. Click to select each data item you want to use from the displayed boxes. (Note: Items listed in each box are not meant to match items located on the same line in an adjacent box. Items are sorted in alphabetical or numerical order and work independently of each other.) You can also select multiple data items simultaneously by holding your CTRL key while selecting multiple items within the data-filled boxes. Use the built-in horizontal scroll bar to display additional information to the right or left of the view.
An Advanced Filter option is also available and allows you to add as many fields and values as required to meet certain user-defined criteria. Just click <Add> to add rows containing drop-down lists of predefined Fields, Operators, Values, and Formats. Select data items from each applicable drop-down list.
Items in the Operator drop-down list change with the type of data you select from the Field drop-down list. For example, if you select a field that is value related, only value related operator codes display. Key the Value to identify the Text or Numbers on which you want to filter data. Example: Select “Between” or “Between Values” to filter information between the two entries you key in the Value field (3000,5000. Entries are separated by a comma but no space.). Select “In List” or “In Value List” to filter information on a list of entries you key in the Value field (01,02,03,04,05. Entries are separated by a comma but no space.).
Use the And/Or drop-down list to indicate if each subsequent advanced filter is to be used in addition to the previous filter or used instead of the previous filter.
You can highlight filters on your report by a specified color combination by choosing a color from the Format drop-down list. Note: Colors will not be applied to subtotal and total rows when filtering data using the Filtering Tab. If ”None” is selected from the Format drop-down list, then specified information is used as a filter. To delete a row, just click the Delete button located at the end of each row.
Key a name for the advanced filter you created in the entry field located by the function buttons. The name of this filter will now display in the drop-down list located beside the entry field. When returning to this Tab, you will be able to select an advanced filter from this drop-down list for reuse on other report templates.
When finished adding advanced filters, click <Save>. To reload the previous advance filter, click <Reload>. To delete an advance filter, click <Delete>. If you want to clear your advanced filters and start over again, click <Clear>. To clear all filters including Advanced filters, click <Clear All>.
When finished applying filters, click <Apply>. To view applied filters, click the View Tab. To export your report template to a spreadsheet format, click the Export to Excel icon.
Note: The Print icon is not available for use on the Filters Tab.