Select Clearances|A/P Offsets.
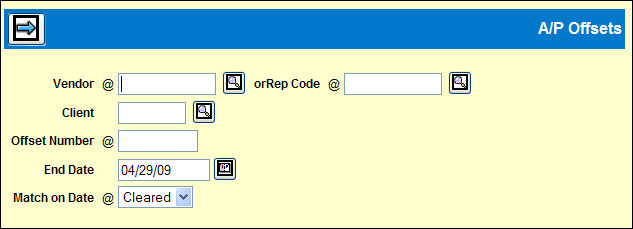
Choose the Vendor or Rep Code.
Client is optional.
Key the Offset Number (a unique set of seven digits only).
The current date defaults in the End Date field.
The Match on Date can be Cleared or Paid.
If you select Cleared, click the Next icon to display a Detail window with the available cleared (or paid) invoices ready to match against other invoices.
Offsets Detail Window
There can be several types of offsets:
A credit offsetting a debit for the same amount for the same vendor, client and product from another cleared invoice.
A deleted paid insertion that needs to be offset. This may occur if the wrong market or product was
When you review the displayed list of items available for offsets click the checkboxes for the items that can be offset.
Click Save.
The saved window redisplays with two new buttons. At this stage, none of these invoices can be manipulated in Matching, Clearing, or Paying.
Click the <Apply Offset> button.
Once applied, this window redisplays, but the Sel column is grayed out so you may not change the offset match. The Offset Status field shows "Applied."
The Edit Report generates and a popup window displays for you to accept or change items such as Output Queue and Form Type.
Click <Submit> to print this report.
<Add Detail>
When the first set of offsets were saved, but not applied, you may click the <Add Detail> button to retrieve other cleared invoices to offset other debits and credits.
Follow the basic steps above to offset the additional matches.