Each row on a timesheet identifies the code(s) to which time is to be charged and the amount of time spent each day on work related to those codes. After you submit any time for a row, you may not make any changes to the codes for the row or the amount of time submitted. However, you may still key time on the same row for days with no submitted time.
If no default rows have been defined, a new timesheet displays one blank row.
Adding Rows
Use the drop down list next to the Add Rows icon on the icon bar to select the number of rows to be added. If you have many rows on your timesheet, a scroll bar displays just to the right of the last column. Use this scroll bar to display additional rows.
Deleting a Row
To delete a row from a timesheet:
Click the Del box on the row you want deleted.
Click the Save/Submit icon to delete the row and save the timesheet.
Sorting Rows
To sort rows on a timesheet, click the header for the column to sort.
To sort by more than one column, choose the lowest sort first. For example, to sort by client, then by product under each client, then by work code: Click the Work column name, then the Product column name, then the Client column name.
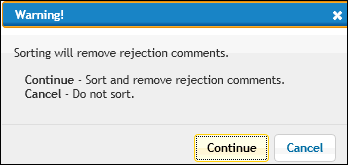
Note: Sorting information will remove any Rejection Comments from the timesheet. A Warning Message displays that allows you to Continue with the sort and remove comments or to Cancel the sort and retain comments.